Have you ever heard of the witch's knot? It's not just a mystical symbol—it’s also an incredibly useful technique when working with wire. Whether you're into jewelry-making, crafting, or simply want to add a touch of magic to your life, learning how to tie a witch's knot with wire is both fun and functional. Imagine creating intricate designs, securing delicate pieces, or even adding symbolic meaning to your projects. This ancient knot has roots in folklore and can be adapted for modern purposes. Let’s dive in and unravel the secrets of this enchanting skill.
Before we get our hands on some wire, let's talk about why this knot matters. The witch's knot is more than just a pretty pattern; it carries historical significance tied to protection, intention-setting, and creativity. By mastering this technique, you’ll not only enhance your crafting abilities but also connect with centuries-old traditions. Plus, it’s super easy to learn—no black magic required!
Now, if you're thinking, “Can I really do this?” The answer is a resounding YES. With step-by-step instructions, helpful tips, and a dash of inspiration, you'll soon be tying witch's knots like a pro. So grab your favorite wire, take a deep breath, and let’s bring this magical craft to life!
- Unveiling The Mystique Of Harbor Elm Your Ultimate Guide
- Joseph Joestar Cosplay A Comprehensive Guide For Enthusiasts
Table of Contents
- What is a Witch's Knot?
- Materials Needed for Witch's Knot with Wire
- Step-by-Step Guide to Making a Witch's Knot
- Variations of the Witch's Knot
- The Symbolism Behind the Witch's Knot
- Tips for Perfecting Your Witch's Knot
- Common Mistakes to Avoid
- Practical Uses of Witch's Knot Wire Projects
- Troubleshooting Your Witch's Knot
- Conclusion: Embrace the Magic
What is a Witch's Knot?
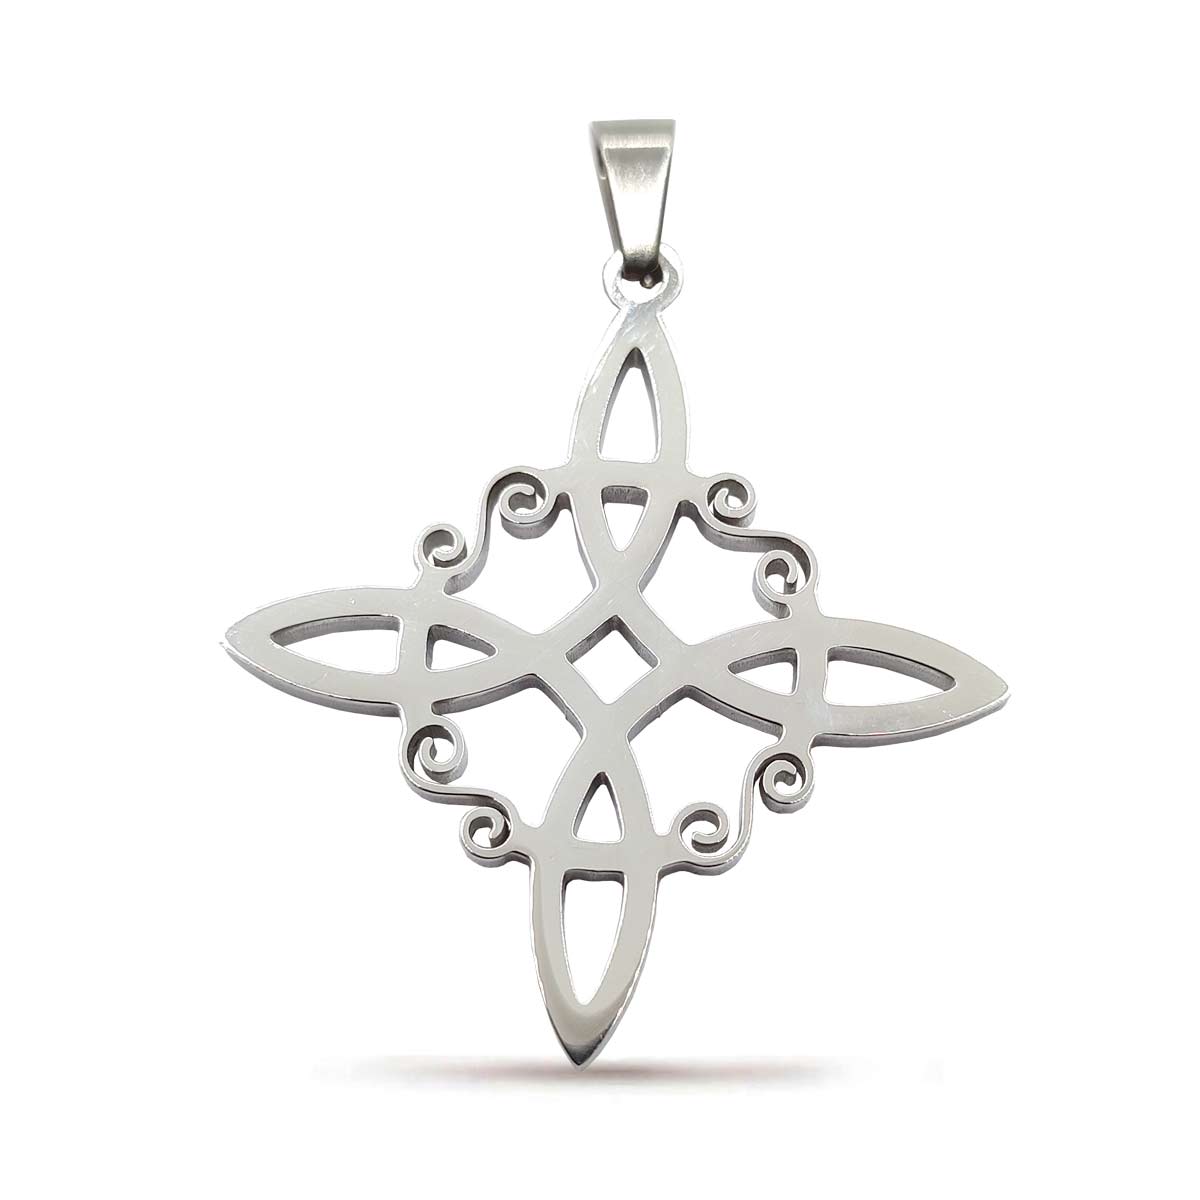
A witch's knot, also known as a "magic knot," is a traditional knot believed to have protective properties in pagan and witchcraft practices. While it may sound mysterious, it’s actually a straightforward knot that can be tied using various materials, including wire. Historically, these knots were used to ward off evil spirits, bind intentions, and create talismans. In today's world, they’ve found their way into art, jewelry, and decorative crafts.
So why use wire? Wire adds durability and allows for customization. You can shape it, twist it, and manipulate it into stunning designs. Plus, it holds its form better than string or thread, making it ideal for long-lasting projects. Whether you're creating a charm bracelet or designing a piece of wall art, wire gives you endless possibilities.
Why Is the Witch's Knot So Popular?
Here’s the deal: the witch's knot isn't just about tradition. It’s also about versatility. People love it because:
- Boho Bob The Trendy Hairstyle Thats Here To Stay
- Always Curious The Key To Unlocking Lifelong Learning And Growth
- It’s simple yet elegant.
- You can personalize it with colors and textures.
- It works for both functional and decorative purposes.
- It’s a great conversation starter!
And let’s not forget—the witch's knot is eco-friendly. Many crafters use recycled wire, which reduces waste and promotes sustainability. Now that’s what I call magic!
Materials Needed for Witch's Knot with Wire
Alright, let’s talk supplies. To tie a witch's knot with wire, you don’t need much. Here’s a quick rundown of what you’ll need:
- Wire: Choose a gauge that suits your project. For beginners, 20-24 gauge wire is perfect—it’s flexible enough to work with but sturdy enough to hold its shape.
- Wire Cutters: You’ll need these to trim your wire once the knot is complete.
- Pliers (optional): Needle-nose pliers can help with precision, especially when working with smaller wires.
- A Base (optional): If you’re making a decorative piece, consider attaching your knot to something like a wooden dowel or a bead.
Pro tip: If you’re new to wireworking, start with copper or aluminum wire. They’re affordable, easy to manipulate, and come in a variety of colors. And hey, who says you can’t add a little sparkle with gold or silver wire? Go wild!
Step-by-Step Guide to Making a Witch's Knot
Ready to tie your first witch's knot? Let’s go step by step. Don’t worry, I’ll walk you through it like we’re sitting at the kitchen table together.
Step 1: Start with a Loop
Take about 6 inches of wire and make a small loop at one end. This will serve as the foundation for your knot. Use your fingers or pliers to ensure the loop is neat and tidy.
Step 2: Create the First Twist
Now, take the longer end of the wire and wrap it around the base of the loop twice. Make sure the wraps are snug but not too tight—you want to be able to adjust them later if needed.
Step 3: Add the Second Twist
Continue wrapping the wire, this time crossing over the previous twists. Think of it like weaving a tiny web. Keep going until you’ve formed four distinct loops within the knot.
Step 4: Secure the Ends
Once your knot is shaped, tuck the remaining wire ends back into the loops. Trim any excess with your wire cutters. Voila! You’ve got yourself a witch's knot.
See? That wasn’t so hard, was it? Practice makes perfect, so don’t be afraid to try again if your first attempt isn’t picture-perfect. Each knot you tie brings you closer to mastering this skill.
Variations of the Witch's Knot
Once you’ve nailed the basic witch's knot, it’s time to experiment. There are countless ways to modify this classic design:
- Double Knot: Tie two witch's knots side by side for added strength and style.
- Colored Wire: Mix and match wire colors to create vibrant patterns.
- Textured Wire: Try using hammered or ribbed wire for a unique look.
- Combined with Beads: Incorporate beads into your knot for a touch of elegance.
Feel free to let your imagination run wild. After all, crafting is all about self-expression. Who knows? You might stumble upon a variation that becomes your signature style.
The Symbolism Behind the Witch's Knot
Let’s take a moment to appreciate the deeper meaning behind the witch's knot. In many cultures, knots represent connection, continuity, and intention. Specifically, the witch's knot is said to:
- Protect against negative energy.
- Bind wishes or desires.
- Serve as a reminder of personal power.
In modern times, people often use witch's knots as symbols of empowerment. Whether you’re crafting a piece for yourself or gifting it to someone special, infusing your creation with positive intentions can make it even more meaningful.
Tips for Perfecting Your Witch's Knot
Want to take your witch's knot game to the next level? Here are a few insider tips:
- Practice on scrap wire before starting your final project.
- Use a piece of tape to hold the wire in place while you work.
- Experiment with different wire thicknesses to see what works best for you.
- Don’t rush—take your time to ensure each loop is even.
Remember, every crafter starts somewhere. Even the most skilled artisans were once beginners. Be patient with yourself and enjoy the process.
Common Mistakes to Avoid
Let’s face it—we’ve all made mistakes while crafting. Here are a few pitfalls to watch out for:
- Over-tightening: Pulling the wire too tight can distort the knot’s shape.
- Uneven Loops: Take care to keep each loop consistent in size.
- Forgetting to Trim: Leaving excess wire can ruin the finished look.
Don’t sweat it if things don’t turn out perfectly the first time. Mistakes are part of the learning process. Just keep practicing, and you’ll improve in no time.
Practical Uses of Witch's Knot Wire Projects
Now that you know how to tie a witch's knot, what can you do with it? The possibilities are endless:
- Jewelry: Turn your knots into pendants, earrings, or bracelets.
- Home Decor: Hang your knots as wall art or incorporate them into candle holders.
- Gift Tags: Add a personal touch to presents with handmade witch's knots.
- Symbolic Talismans: Create meaningful pieces to keep with you or give to loved ones.
Each project you undertake allows you to express your creativity and share a piece of yourself with the world. Not bad for a little knot, huh?
Troubleshooting Your Witch's Knot
Even the best crafters encounter issues from time to time. Here’s how to troubleshoot common problems:
- Loose Knot: Double-check that each loop is secure and re-wrap if necessary.
- Wire Breaking: Use higher-quality wire or avoid over-bending.
- Uneven Shape: Gently adjust the loops with your fingers or pliers.
If all else fails, start fresh. Sometimes starting over is the best way to achieve the results you want.
Conclusion: Embrace the Magic
Learning how to tie a witch's knot with wire opens up a world of possibilities. From its rich history to its practical applications, this versatile technique offers something for everyone. Whether you’re a seasoned crafter or a curious beginner, there’s magic in every loop and twist.
So, what are you waiting for? Grab your wire, unleash your creativity, and start tying those knots. And don’t forget to share your creations with others—after all, spreading joy is the best kind of magic. Happy crafting!
Psst… Did you enjoy this guide? Leave a comment below and let me know how your witch's knot turned out. Or better yet, share a photo of your masterpiece on social media and tag me—I’d love to see it!
- Postech Fashion Inc The Gamechanger In Modern Fashion
- Kawaii Funneh From The Krew Drawing Cookie Kingdom Adventures