So, you're diving deep into the world of Minecraft Java Edition, and you're wondering how to show chunk borders in Minecraft Java, right? Let me tell you, understanding chunks is like getting a backstage pass to the game's inner workings. Whether you're building massive structures or optimizing your server, knowing how to activate chunk borders can seriously level up your gameplay. So grab your pickaxe, because we're about to get into some next-level Minecraft knowledge.
Chunk borders aren't just for show; they're practical tools that can help you plan your builds more efficiently, manage lag, and even spot glitches. If you're running a multiplayer server, showing chunk borders at a 60% opacity is like having a cheat sheet for managing performance issues. This guide will walk you through everything you need to know, from the basics to the advanced tricks. And hey, don’t worry if you’re new to this—by the end of this article, you’ll be a chunk-master!
Before we dive in, let’s set the stage. Chunk borders in Minecraft Java Edition aren’t enabled by default, but trust me, once you see how they can improve your gameplay, you’ll wonder why you didn’t enable them sooner. Whether you're building a city, farming mobs, or just exploring, this feature is a game-changer. Ready to get started? Let’s go!
- Jordan Lutes Band The Untold Story Of A Rising Musical Force
- Marilyn Monroe Beauty Spot The Iconic Mark That Defined Glamour
What Are Chunks in Minecraft Java Edition?
Alright, let’s break it down. Chunks are basically the building blocks of Minecraft’s world. Each chunk is a 16x16 block area that stretches vertically from bedrock to the sky. Think of them as the grid system that makes up the game world. When you move around in Minecraft, the game loads and unloads chunks based on your position. This helps keep things running smoothly, especially on older devices.
Why should you care about chunks? Well, they play a huge role in optimizing your game performance. If you’re experiencing lag, chances are it’s related to how chunks are being loaded or unloaded. By showing chunk borders, you can visually see how the game is handling these chunks, which can help you troubleshoot performance issues.
And here’s the kicker: chunk borders aren’t just for server admins or tech-savvy players. Even casual builders can benefit from this feature. Imagine being able to see exactly where your builds start and end within a chunk. It’s like having a blueprint for your creations!
- Lauryn Cash Death Birmingham Al The Untold Story That Needs To Be Heard
- Tilted Tiktok Emojis The Ultimate Guide To Decoding Viral Expressions
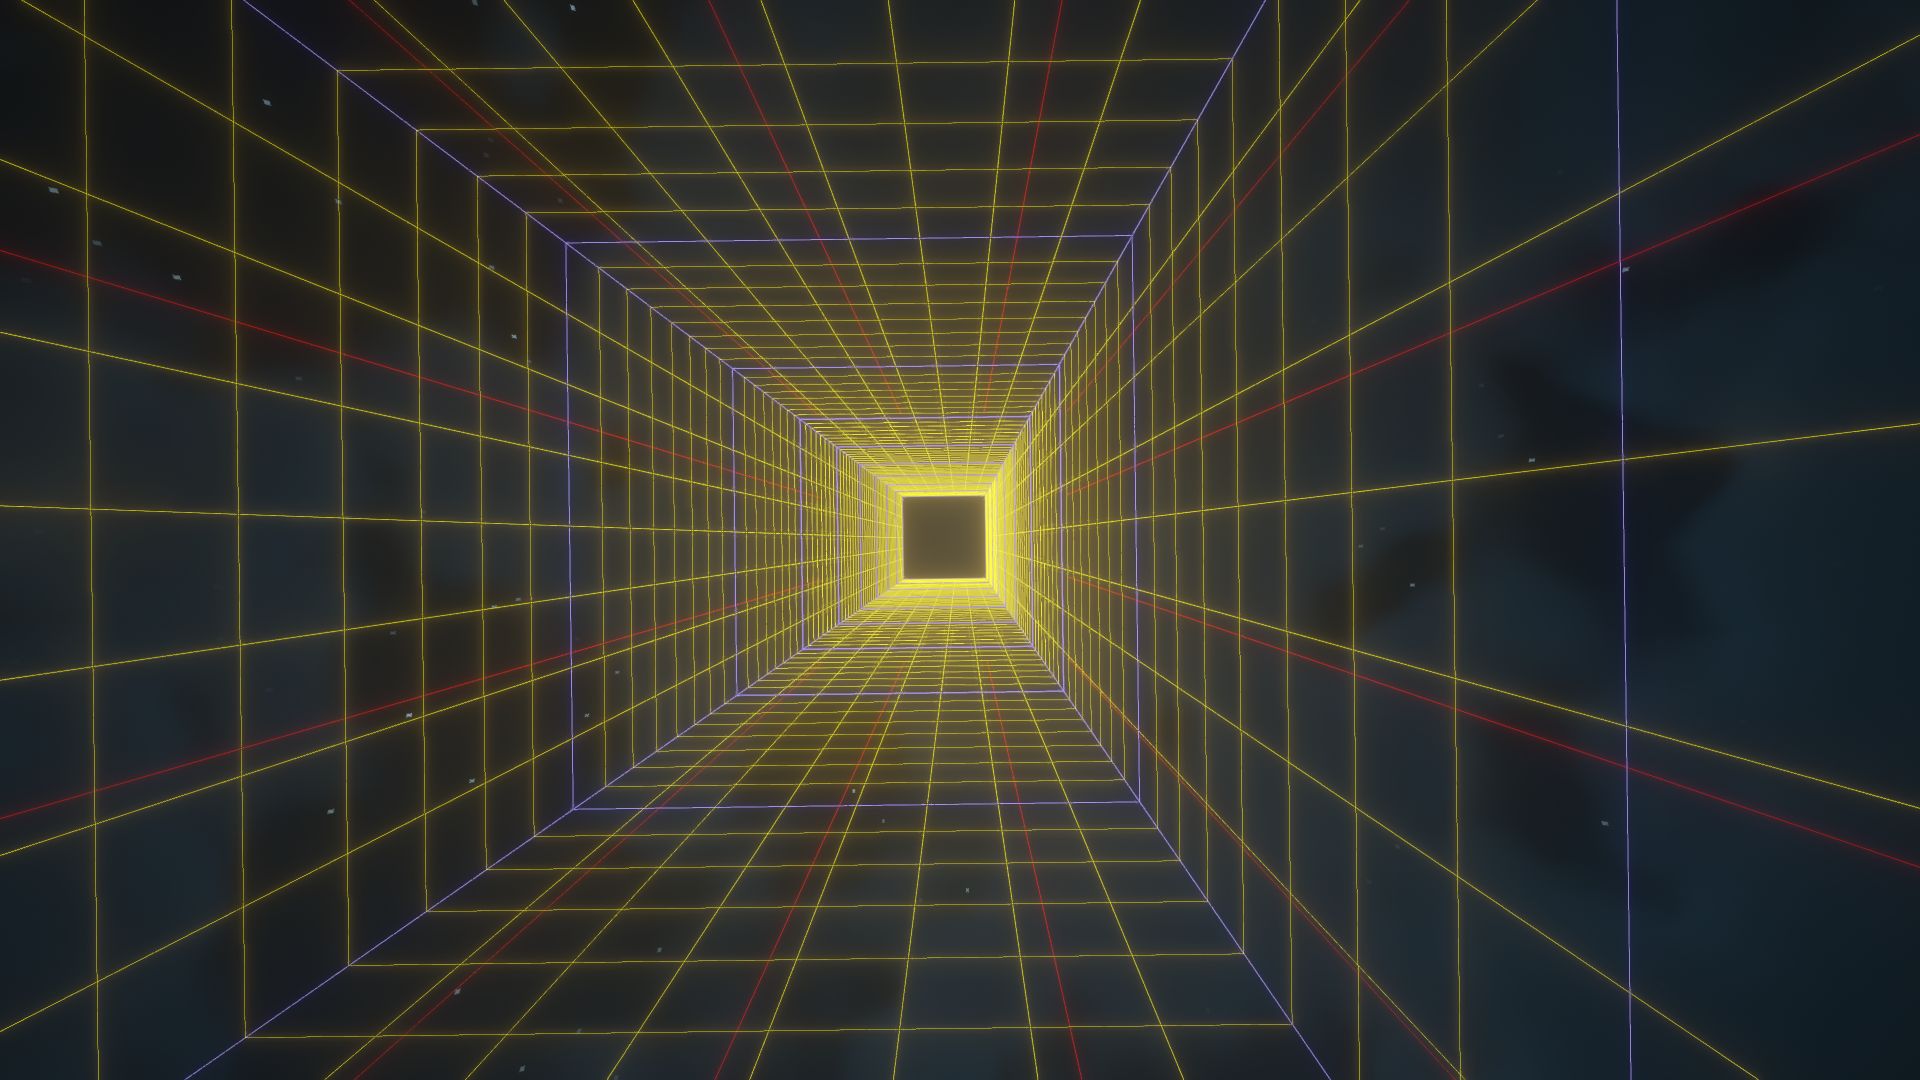
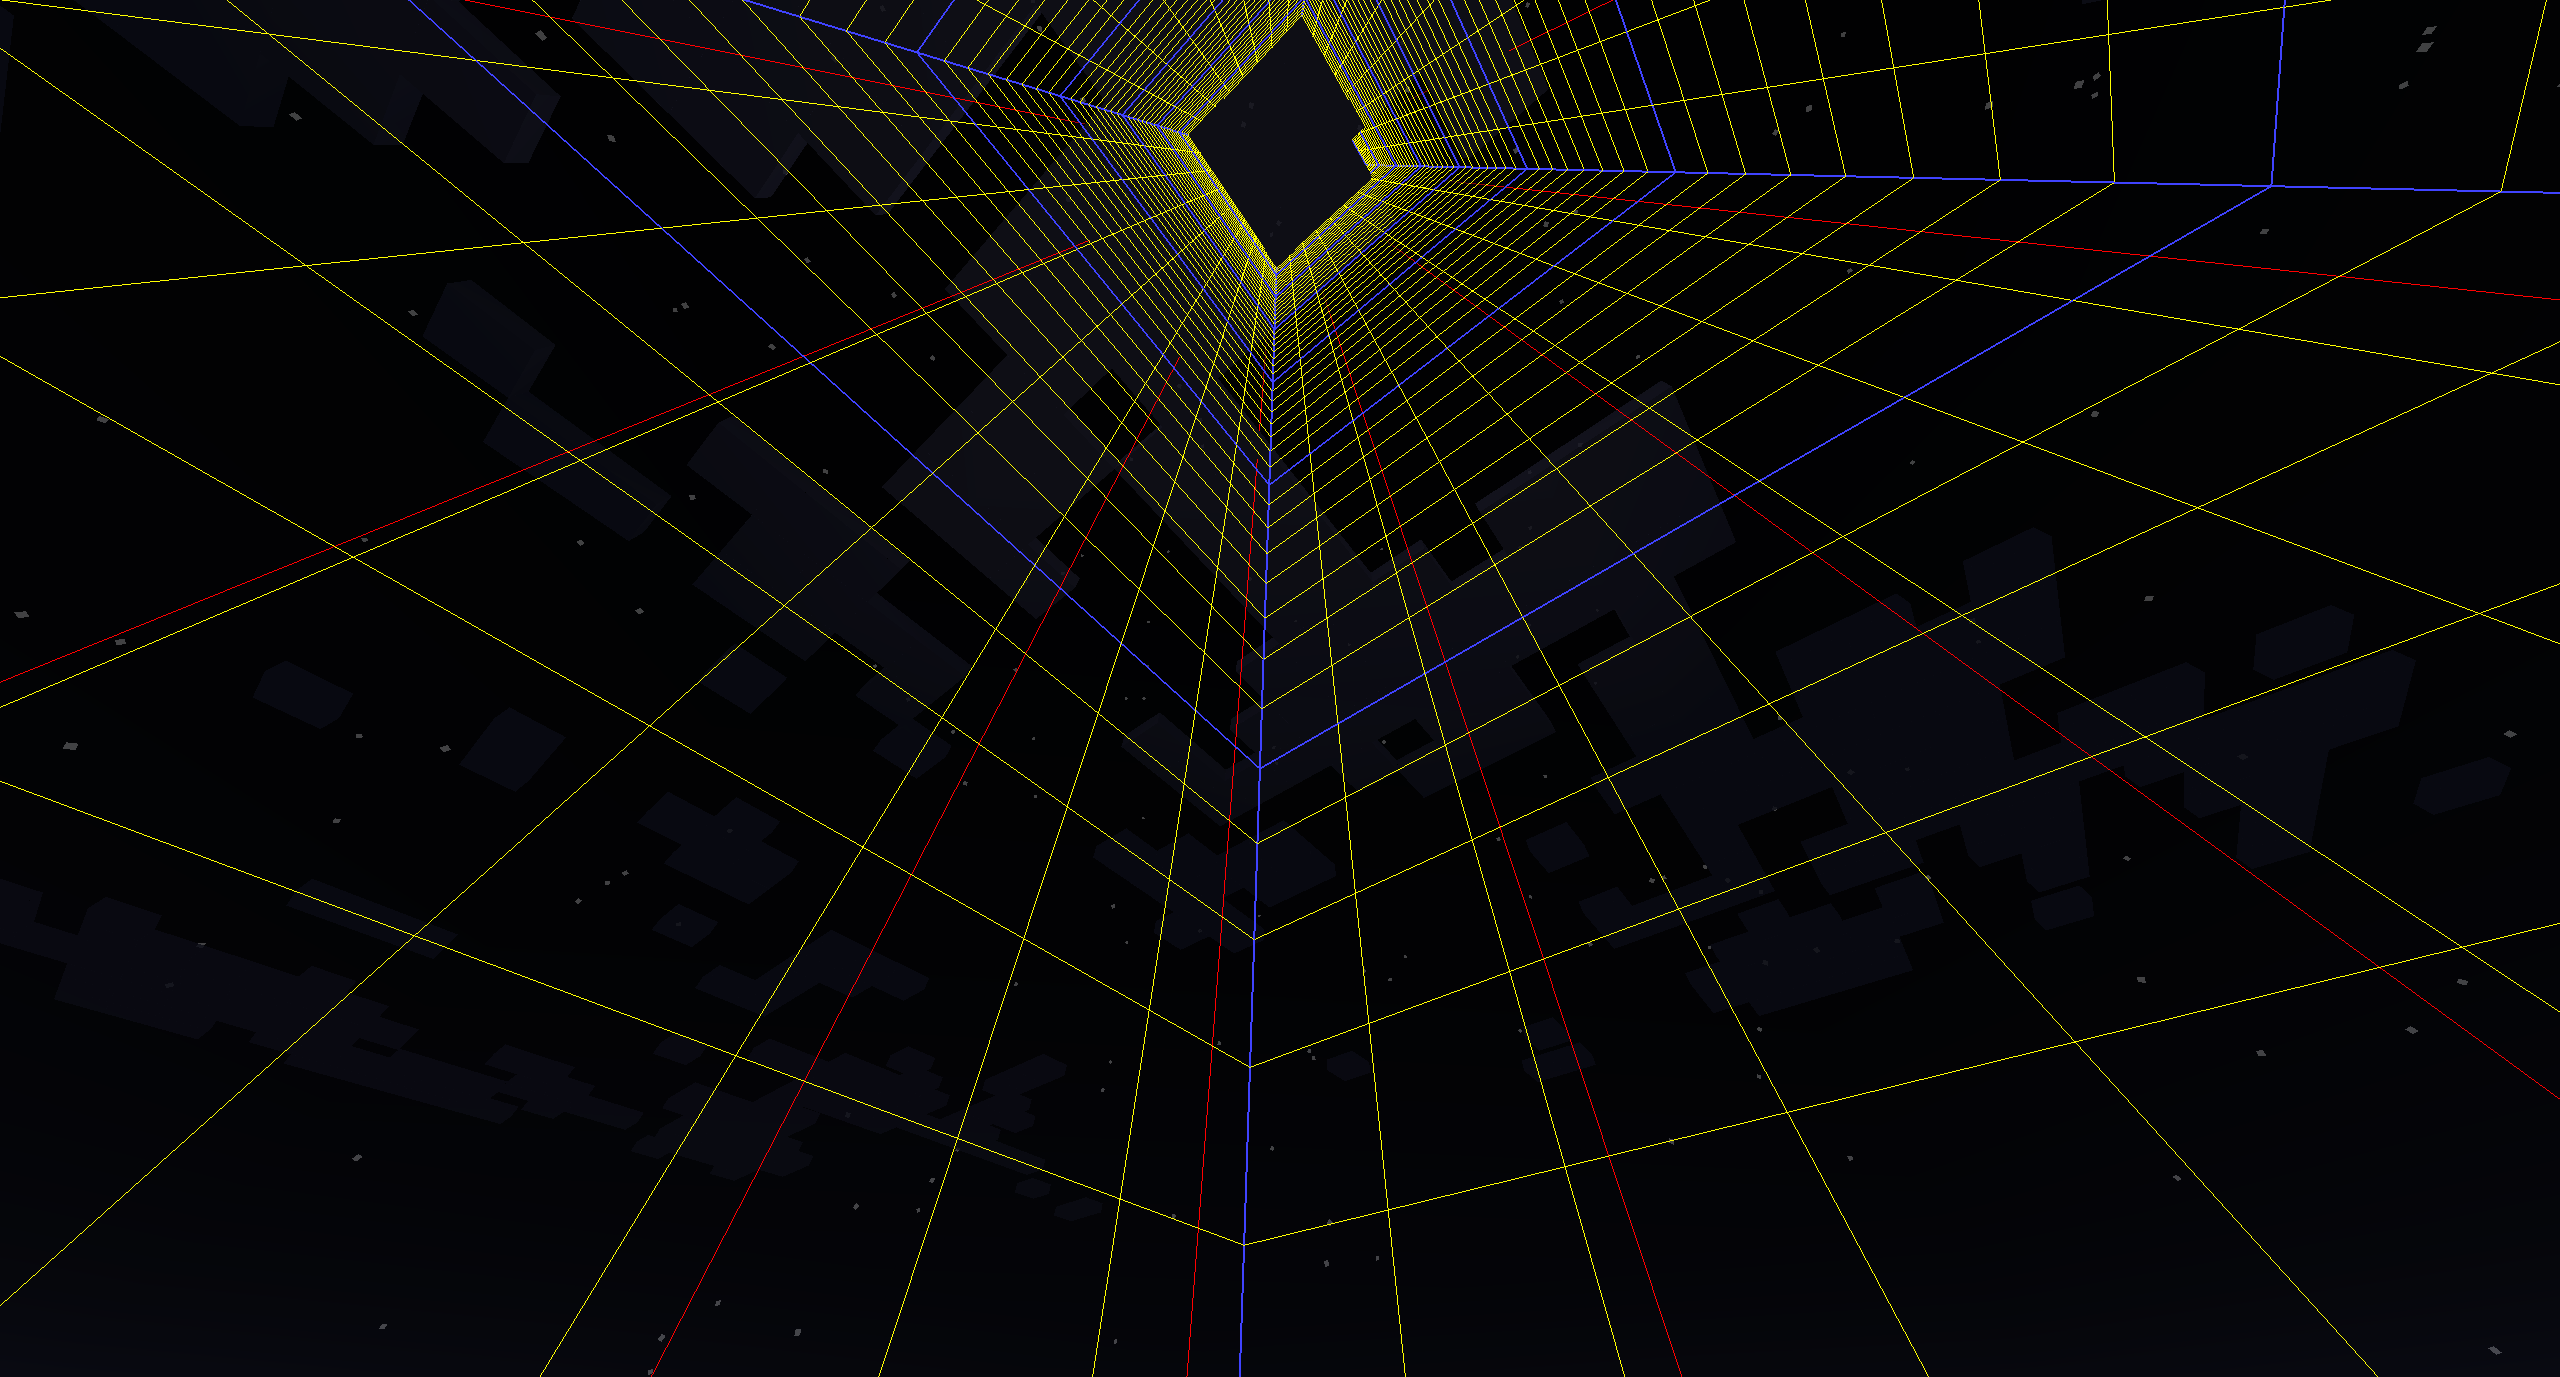
Why Show Chunk Borders at 60% Opacity?
Now, you might be wondering why we’re specifically talking about showing chunk borders at 60% opacity. The answer is simple: balance. Setting the opacity too high can clutter your screen and make it harder to focus on the actual gameplay. On the other hand, setting it too low might make the borders barely visible. 60% is that sweet spot where you can see the borders without them being overwhelming.
Here’s a quick tip: when you’re building large structures, having chunk borders at 60% opacity helps you keep everything organized. You can see where one chunk ends and another begins, which is especially useful if you’re trying to avoid chunk glitches or performance issues.
Plus, let’s be honest—chunk borders can look pretty cool. They add a layer of depth to your world, making it feel more professional and polished. So whether you’re building for fun or for a server, 60% opacity is the way to go.
How to Enable Chunk Borders in Minecraft Java
Alright, let’s get down to business. Enabling chunk borders in Minecraft Java Edition is easier than you might think. Here’s a step-by-step guide to help you get started:
Step 1: Open the Chat Menu
While you’re in the game, press the “T” key to open the chat menu. This is where you’ll enter the command to enable chunk borders.
Step 2: Enter the Command
Now, type the following command into the chat box:
/debug chunk
Hit enter, and voilà! You should now see chunk borders overlayed on your screen. By default, the opacity is set to 50%, but we’ll show you how to adjust that in a bit.
Step 3: Adjust the Opacity
To set the opacity to 60%, you’ll need to use a resource pack or modify your game settings. Don’t worry—it’s not as complicated as it sounds. We’ll cover this in more detail later in the article.
And that’s it! You’re now seeing chunk borders in all their glory. Pretty simple, right?
Tips for Using Chunk Borders Effectively
Now that you know how to enable chunk borders, let’s talk about how to use them effectively. Here are a few tips to help you get the most out of this feature:
- Plan Your Builds: Use chunk borders to plan the layout of your structures. This will help you avoid crossing chunk boundaries, which can cause lag or glitches.
- Optimize Performance: If you’re experiencing lag, check to see how many chunks are being loaded at once. You can use chunk borders to identify areas that might be causing performance issues.
- Spot Glitches: Chunk borders can help you identify areas where chunks aren’t loading properly. This is especially useful if you’re running a multiplayer server.
- Enhance Your Builds: Use chunk borders to add a professional touch to your creations. It’s like having a grid system for your designs.
Remember, chunk borders are there to help you, not hinder you. Use them wisely, and they’ll become one of your most valuable tools in Minecraft.
Common Mistakes When Using Chunk Borders
While chunk borders are incredibly useful, there are a few common mistakes that players make when using them. Here are a few things to watch out for:
- Overusing the Feature: Leaving chunk borders on all the time can clutter your screen and make it harder to focus on the game. Use them when you need them, and turn them off when you don’t.
- Ignoring Chunk Boundaries: Just because you can see chunk borders doesn’t mean you should ignore them. Always plan your builds with chunk boundaries in mind.
- Not Adjusting Opacity: Setting the opacity too high or too low can make chunk borders less effective. Find the right balance for your gameplay style.
Avoiding these mistakes will help you get the most out of chunk borders and improve your overall Minecraft experience.
Advanced Techniques for Managing Chunks
Ready to take your chunk management skills to the next level? Here are a few advanced techniques to help you master chunks in Minecraft Java Edition:
Technique 1: Use Resource Packs
Resource packs can be a game-changer when it comes to customizing chunk borders. You can find resource packs that allow you to adjust the opacity, color, and even the style of the borders. Just search for “chunk border resource packs” on websites like CurseForge or Planet Minecraft.
Technique 2: Optimize Server Settings
If you’re running a multiplayer server, optimizing server settings can help improve chunk performance. Look into settings like view distance and chunk loading radius to find the right balance for your server.
Technique 3: Use Plugins
For server admins, plugins like WorldEdit or Chunky can provide even more control over chunk management. These tools allow you to visualize and manipulate chunks in ways that aren’t possible with vanilla Minecraft.
By mastering these advanced techniques, you’ll be able to take full advantage of chunk borders and improve your gameplay experience.
How Chunk Borders Impact Game Performance
Chunk borders aren’t just for aesthetics; they can also have a significant impact on game performance. Here’s how:
Reducing Lag: By visualizing chunk borders, you can identify areas where chunks aren’t loading properly or where too many chunks are being loaded at once. This can help you optimize your game settings and reduce lag.
Improving Build Efficiency: Planning your builds within chunk boundaries can help you avoid performance issues down the line. It’s like laying a solid foundation for your creations.
Enhancing Multiplayer Experience: On multiplayer servers, chunk borders can help admins manage chunk loading and unloading more effectively, leading to a smoother gameplay experience for all players.
So, while chunk borders might seem like a small feature, they can have a big impact on your overall Minecraft experience.
Real-World Examples of Chunk Borders in Action
To give you a better idea of how chunk borders can be used in real-world scenarios, let’s look at a few examples:
Example 1: Building a City
Imagine you’re building a massive city in Minecraft. By using chunk borders, you can plan the layout of your city to ensure that each building fits neatly within a chunk. This will help you avoid performance issues and make your city look more organized.
Example 2: Running a Multiplayer Server
As a server admin, chunk borders can be a lifesaver. They allow you to visualize how chunks are being loaded and unloaded, which can help you identify and fix performance issues. Plus, they give players a better understanding of how the game works, which can lead to a more enjoyable experience for everyone.
Example 3: Creating a Resource Pack
If you’re designing a resource pack, chunk borders can help you test how different textures and effects look within a chunk. This can help you create a more polished and professional-looking pack.
These examples show just how versatile and useful chunk borders can be in Minecraft Java Edition.
Conclusion: Take Your Minecraft Game to the Next Level
So there you have it—everything you need to know about how to show chunk borders in Minecraft Java Edition at 60% opacity. From understanding what chunks are to mastering advanced techniques, this guide has covered it all. Chunk borders might seem like a small feature, but they can make a big difference in your gameplay experience.
Remember, the key to using chunk borders effectively is balance. Set the opacity to 60%, plan your builds within chunk boundaries, and use them wisely. And don’t forget to experiment with resource packs and plugins to take your chunk management skills to the next level.
Now it’s your turn to put this knowledge into action. Enable chunk borders in your game, and see how they can transform the way you play Minecraft. And if you found this guide helpful, be sure to share it with your fellow Minecraft enthusiasts. Happy building!
Table of Contents
- What Are Chunks in Minecraft Java Edition?
- Why Show Chunk Borders at 60% Opacity?
- How to Enable Chunk Borders in Minecraft Java
- Tips for Using Chunk Borders Effectively
- Common Mistakes When Using Chunk Borders
- Advanced Techniques for Managing Chunks
- How Chunk Borders Impact Game Performance
- Real-World Examples of Chunk Borders in Action
- Conclusion: Take Your Minecraft Game to the Next Level
- Diamond The Body Age A Deep Dive Into Her Life And Journey
- Am I Your Roman Empire Pookie Exploring The Quirks Of Modernday Love And Relationships