Let’s talk about the Dyson Airwrap blowout tutorial, because who doesn’t want to achieve that salon-perfect hair look from the comfort of their own home? If you’ve been scrolling through TikTok or Instagram, chances are you’ve seen countless influencers raving about this revolutionary styling tool. But let’s be real, just owning the Dyson Airwrap doesn’t automatically make you a hairstyling pro. That’s where this tutorial comes in. We’re breaking down everything you need to know to master the art of the Dyson Airwrap blowout.
Now, before we dive into the nitty-gritty details, let me tell you why this tool is worth all the hype. The Dyson Airwrap is not your average hairdryer—it’s like a Swiss Army knife for your hair. It combines advanced technology with multiple attachments to give you styling versatility. Whether you want sleek, straight hair or bouncy curls, this baby’s got you covered. So, buckle up because we’re about to take you on a journey to haircare greatness.
Here’s the deal: achieving a salon-quality blowout at home can seem intimidating, especially if you’re new to the Dyson Airwrap game. But don’t worry, we’ve got your back. In this article, we’ll walk you through every step, from prepping your hair to finishing touches. Think of this as your personal hairstyling guide, minus the hefty salon bill. Ready to rock that blowout? Let’s go!
- Undercover Boss Retro Fitness The Hidden World Of Gym Leadership
- Berkley Jensen 5 Burner Gas Grill The Ultimate Grilling Experience
Understanding the Dyson Airwrap: What Makes It Special
Key Features That Set It Apart
First things first, let’s talk about what makes the Dyson Airwrap so special. Unlike traditional hairdryers that rely on excessive heat, the Dyson Airwrap uses a combination of air pressure and temperature control to style your hair without frying it off. Here are some of the standout features:
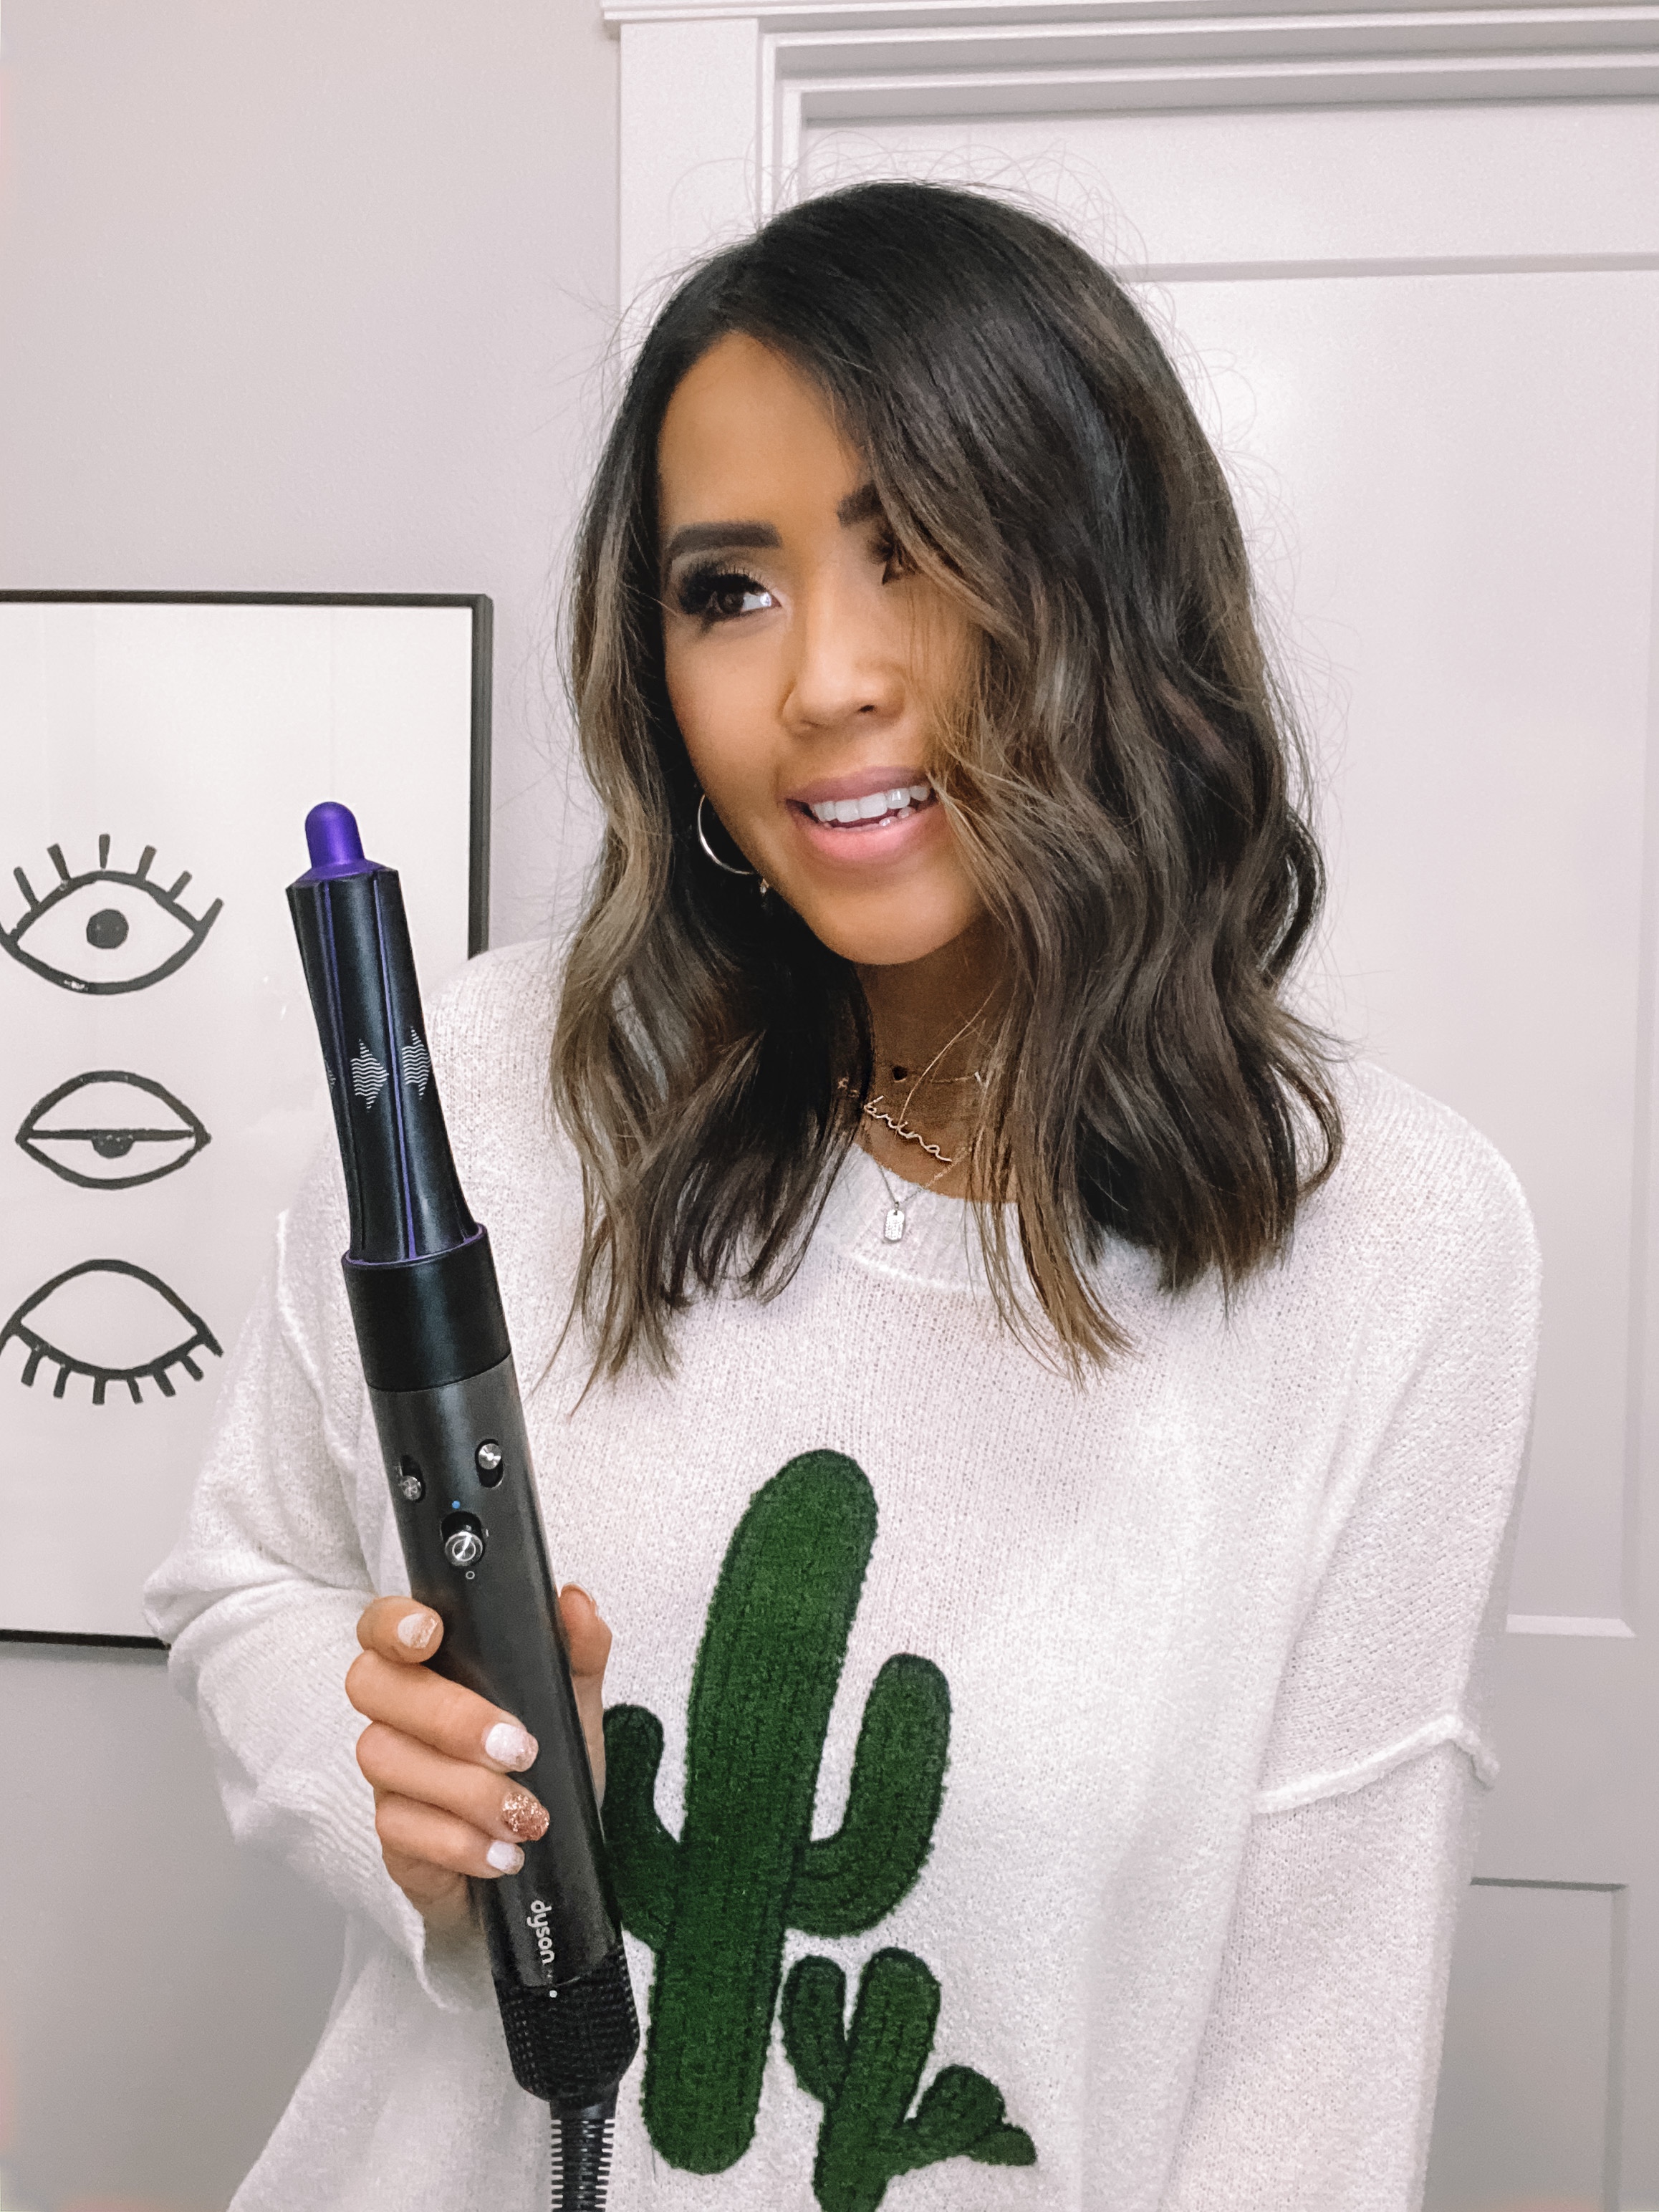
- Cyclonic Air Technology: This is what gives the Airwrap its name. It uses air currents to wrap your hair around the barrels for effortless curls.
- Heat Shield: The tool’s design ensures that the surface of the attachments stays cool to the touch, reducing the risk of burns.
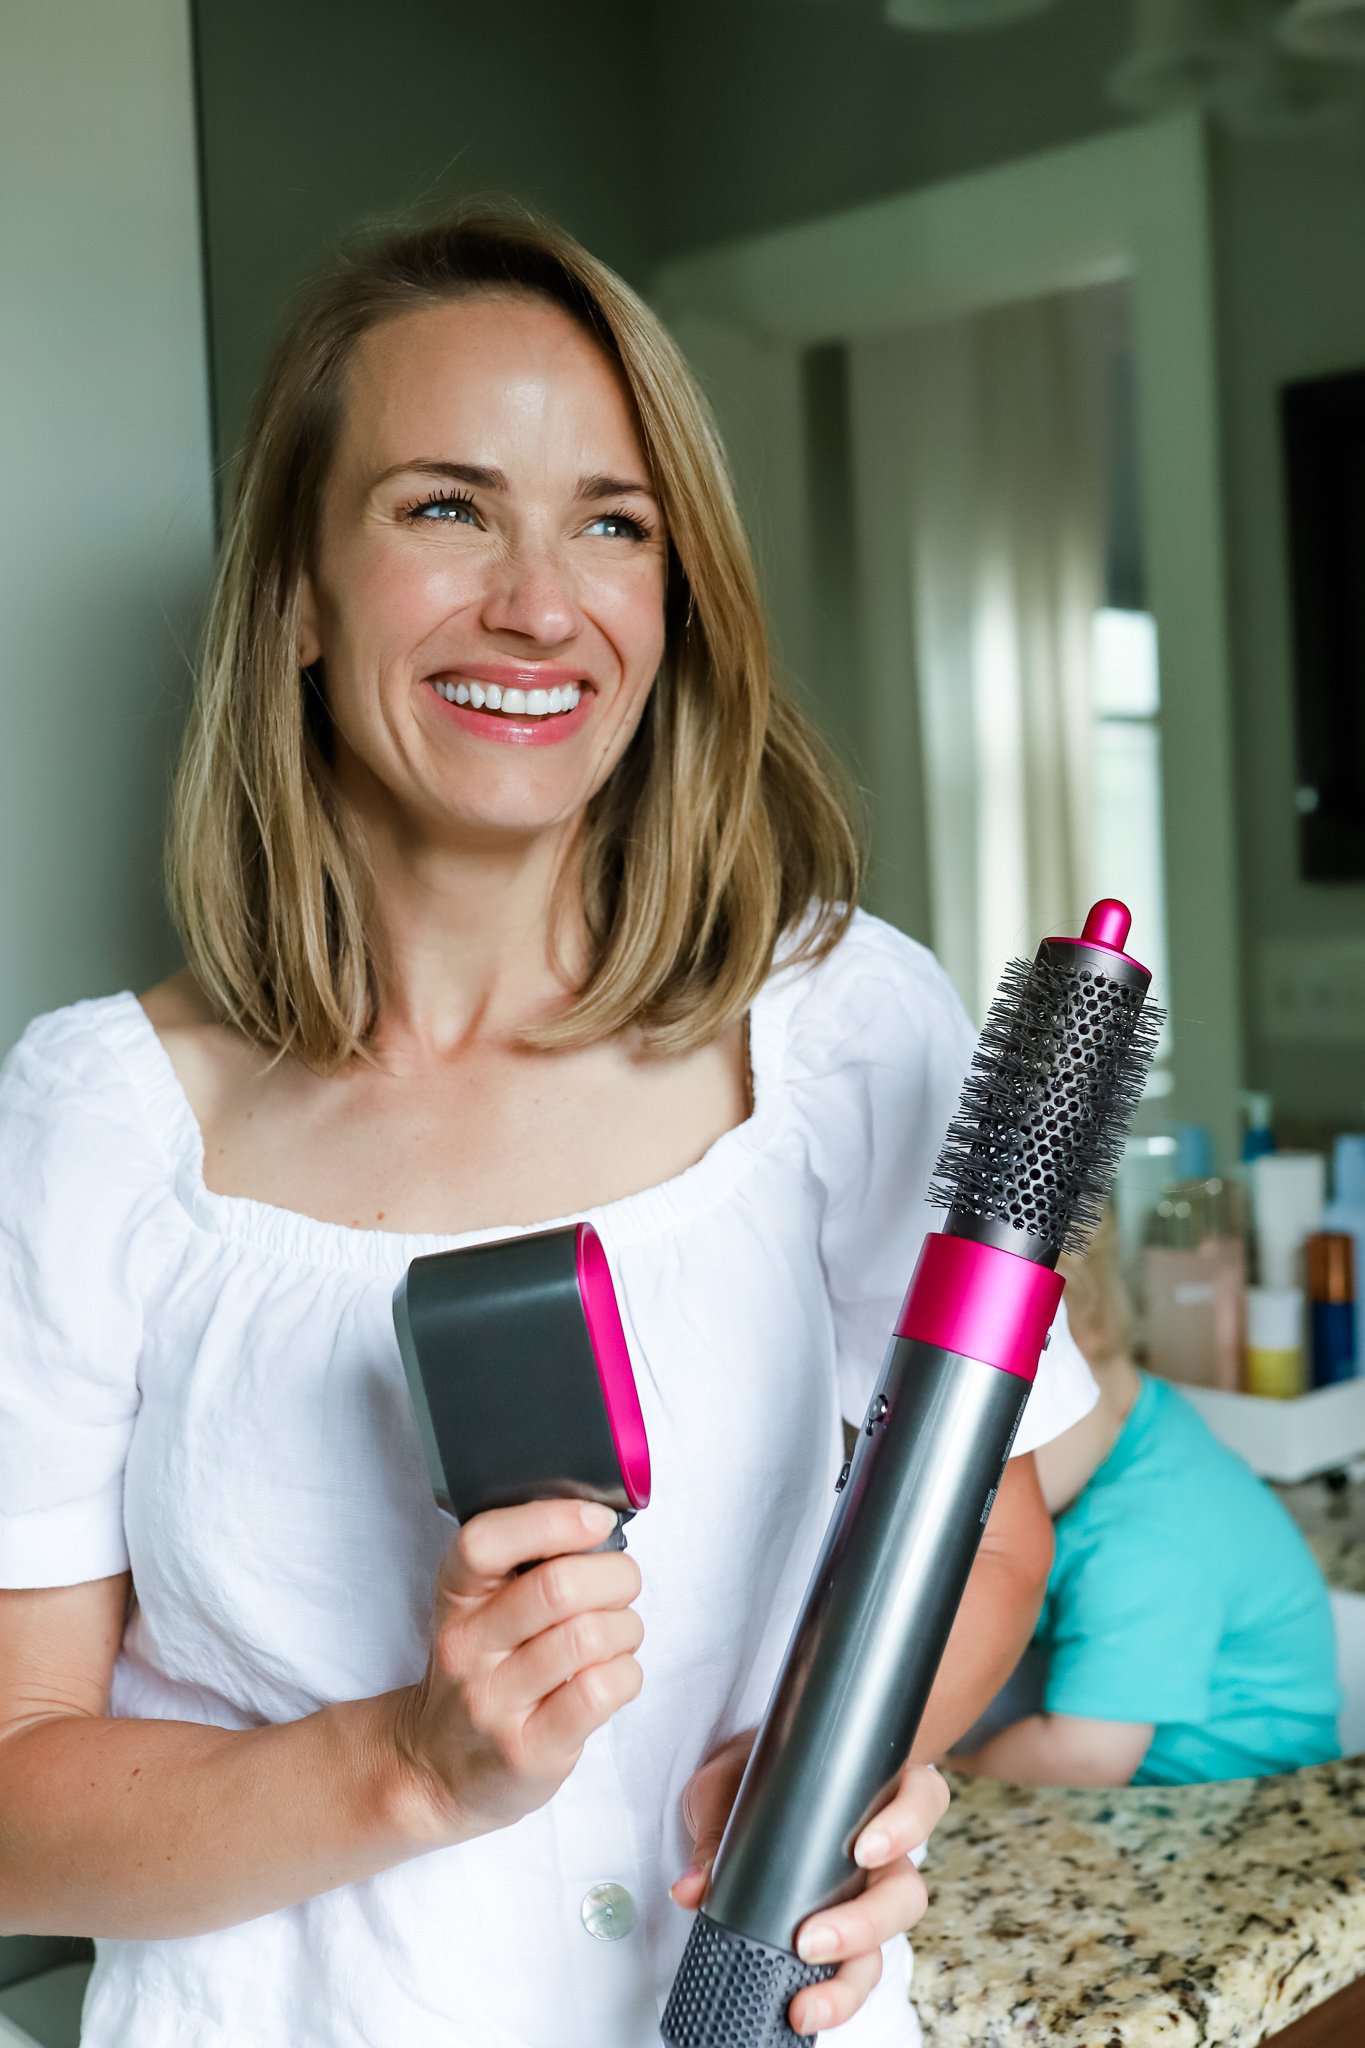
- Variety of Attachments: From smoothing brushes to curling barrels, the Dyson Airwrap comes with a range of attachments to cater to different styling needs.
So, whether you’re trying to tame frizz or create voluminous curls, the Dyson Airwrap has got all the tools you need in one compact device. Pretty cool, right?
Preparing for Your Dyson Airwrap Blowout
What You’ll Need Before You Start
Before you dive into the blowout process, it’s important to gather all the necessary tools and products. Here’s a quick checklist to make sure you’re fully prepared:
- Venom Filter The Ultimate Guide To Enhancing Your Snapchat Experience
- Pinkie Pie Dti The Ultimate Guide To Her Dti Adventures
- Dyson Airwrap: Of course, you’ll need the star of the show!
- Hair Products: Use a heat protectant spray and a styling cream or mousse for added volume and texture.
- Brushes and Combs: A wide-tooth comb and a paddle brush can help detangle your hair before styling.
- Hair Clips: These will come in handy for sectioning your hair during the blowout process.
Remember, preparation is key. Taking the time to prep your hair properly will make the blowout process smoother and more efficient.
Step-by-Step Dyson Airwrap Blowout Tutorial
Step 1: Start with Clean, Towel-Dried Hair
Begin by washing your hair with your favorite shampoo and conditioner. Once you’ve rinsed it out, gently squeeze out the excess water with a towel. Avoid rubbing your hair with the towel, as this can cause frizz. Now, here’s where the magic starts!
Step 2: Apply Styling Products
Next, apply a heat protectant spray to shield your hair from any potential damage caused by the dryer. If you’re aiming for volume, add a styling mousse or cream to enhance texture. Distribute the product evenly throughout your hair using your fingers or a wide-tooth comb.
Step 3: Section Your Hair
Divide your hair into manageable sections using hair clips. This will make the blowout process more organized and ensure even styling. Start with the bottom layer and work your way up.
Step 4: Begin the Blowout
Attach the smoothing brush to your Dyson Airwrap and start drying your hair section by section. Hold the brush close to your roots and use the air pressure to smooth down any flyaways. Keep the dryer moving to avoid overheating any one area.
Step 5: Add Volume and Texture
Once your hair is mostly dry, switch to the round volumizing brush. Focus on the crown area to add lift and volume. Use the air pressure to lift the roots while brushing through the ends for a sleek finish.
Step 6: Create Curls or Waves
If you want to add curls or waves, swap the smoothing brush for the curling barrel. Wrap small sections of hair around the barrel and hold for a few seconds before releasing. Repeat until you’ve achieved your desired level of curliness.
Step 7: Finish with the Airwrap Diffuser
For a softer, more natural look, finish off with the diffuser attachment. This will help set your curls or waves while minimizing frizz. Hold the diffuser close to your hair and let the air do its thing.
Step 8: Set Your Style with Cool Air
Finally, use the cool air setting to set your style. This will lock in your blowout and ensure it lasts all day long. Don’t skip this step—it’s crucial for maintaining your style!
Tips and Tricks for Mastering the Dyson Airwrap
Common Mistakes to Avoid
Even with the best tools, mistakes can happen. Here are a few common pitfalls to watch out for:
- Overdrying: Avoid keeping the dryer on one section for too long, as this can cause heat damage.
- Using Too Much Product: While styling products are great, using too much can weigh down your hair and make it look greasy.
- Skipping the Cool Air Setting: Failing to set your style with cool air can result in a blowout that doesn’t last as long as it should.
By avoiding these mistakes, you’ll be well on your way to achieving that perfect blowout every time.
Benefits of Using the Dyson Airwrap
Why It’s Worth the Investment
Now, you might be wondering if the Dyson Airwrap is really worth the investment. Here’s why it’s a game-changer:
- Time-Saving: With multiple attachments, you can achieve multiple styles without switching tools.
- Heat Protection: The advanced technology ensures your hair stays healthy and damage-free.
- Versatility: From straightening to curling, the Dyson Airwrap can handle it all.
So, while it may come with a higher price tag, the benefits far outweigh the cost. Think of it as an investment in your haircare routine.
Comparing the Dyson Airwrap to Traditional Hairdryers
Why the Dyson Airwrap Stands Out
When compared to traditional hairdryers, the Dyson Airwrap truly stands out. Here’s how:
- Technology: The Dyson Airwrap uses cyclonic air technology, which is far more advanced than the basic airflow of traditional dryers.
- Attachments: With a range of attachments, the Dyson Airwrap offers more styling options than a standard hairdryer.
- Heat Control: The Dyson Airwrap allows for precise temperature control, reducing the risk of heat damage.
It’s no wonder why so many people are switching to the Dyson Airwrap for their styling needs.
User Reviews and Testimonials
What Real Users Are Saying
Curious about what real users think of the Dyson Airwrap? Here are a few testimonials:
- “I’ve been using the Dyson Airwrap for months now, and it’s completely transformed my haircare routine. My hair feels healthier, and I love the variety of styles I can achieve.” – Sarah L.
- “The Dyson Airwrap is a bit of a splurge, but it’s absolutely worth it. I’ve never been able to curl my hair this easily before!” – Emily T.
These reviews highlight the satisfaction that many users feel after incorporating the Dyson Airwrap into their styling routine.
Conclusion: Your Path to Perfect Hair
And there you have it—your ultimate guide to mastering the Dyson Airwrap blowout. By following these steps and tips, you’ll be well on your way to achieving salon-quality hair at home. Remember, practice makes perfect, so don’t be discouraged if it takes a few tries to get the hang of it.
Now, it’s your turn to take action! Try out this tutorial, leave a comment with your results, and share this article with your friends who are also on the Dyson Airwrap journey. Let’s spread the haircare love!
Table of Contents
- Dyson Airwrap Blowout Tutorial: A Step-by-Step Guide to Salon-Perfect Hair
- Understanding the Dyson Airwrap: What Makes It Special
- Key Features That Set It Apart
- Preparing for Your Dyson Airwrap Blowout
- What You’ll Need Before You Start
- Step-by-Step Dyson Airwrap Blowout Tutorial
- Tips and Tricks for Mastering the Dyson Airwrap
- Benefits of Using the Dyson Airwrap
- Comparing the Dyson Airwrap to Traditional Hairdryers
- User Reviews and Testimonials
- Conclusion: Your Path to Perfect Hair
- Alvin And The Chipmunks Alvin Crying Ndash The Heartfelt Story Behind The Tears
- Guy Screaming No Meme The Ultimate Guide To Understanding Its Origins Meaning And Pop Culture Impact